Introduction
Halloween is a fun and exciting time of the year when you can get creative with your nail art. If you're not a professional nail artist, don't worry! With Halloween nail stickers, you can easily achieve spooky and festive designs without any hassle. In this article, we will explore different ways to create stunning Halloween nails using stickers.
Choosing the Right Stickers

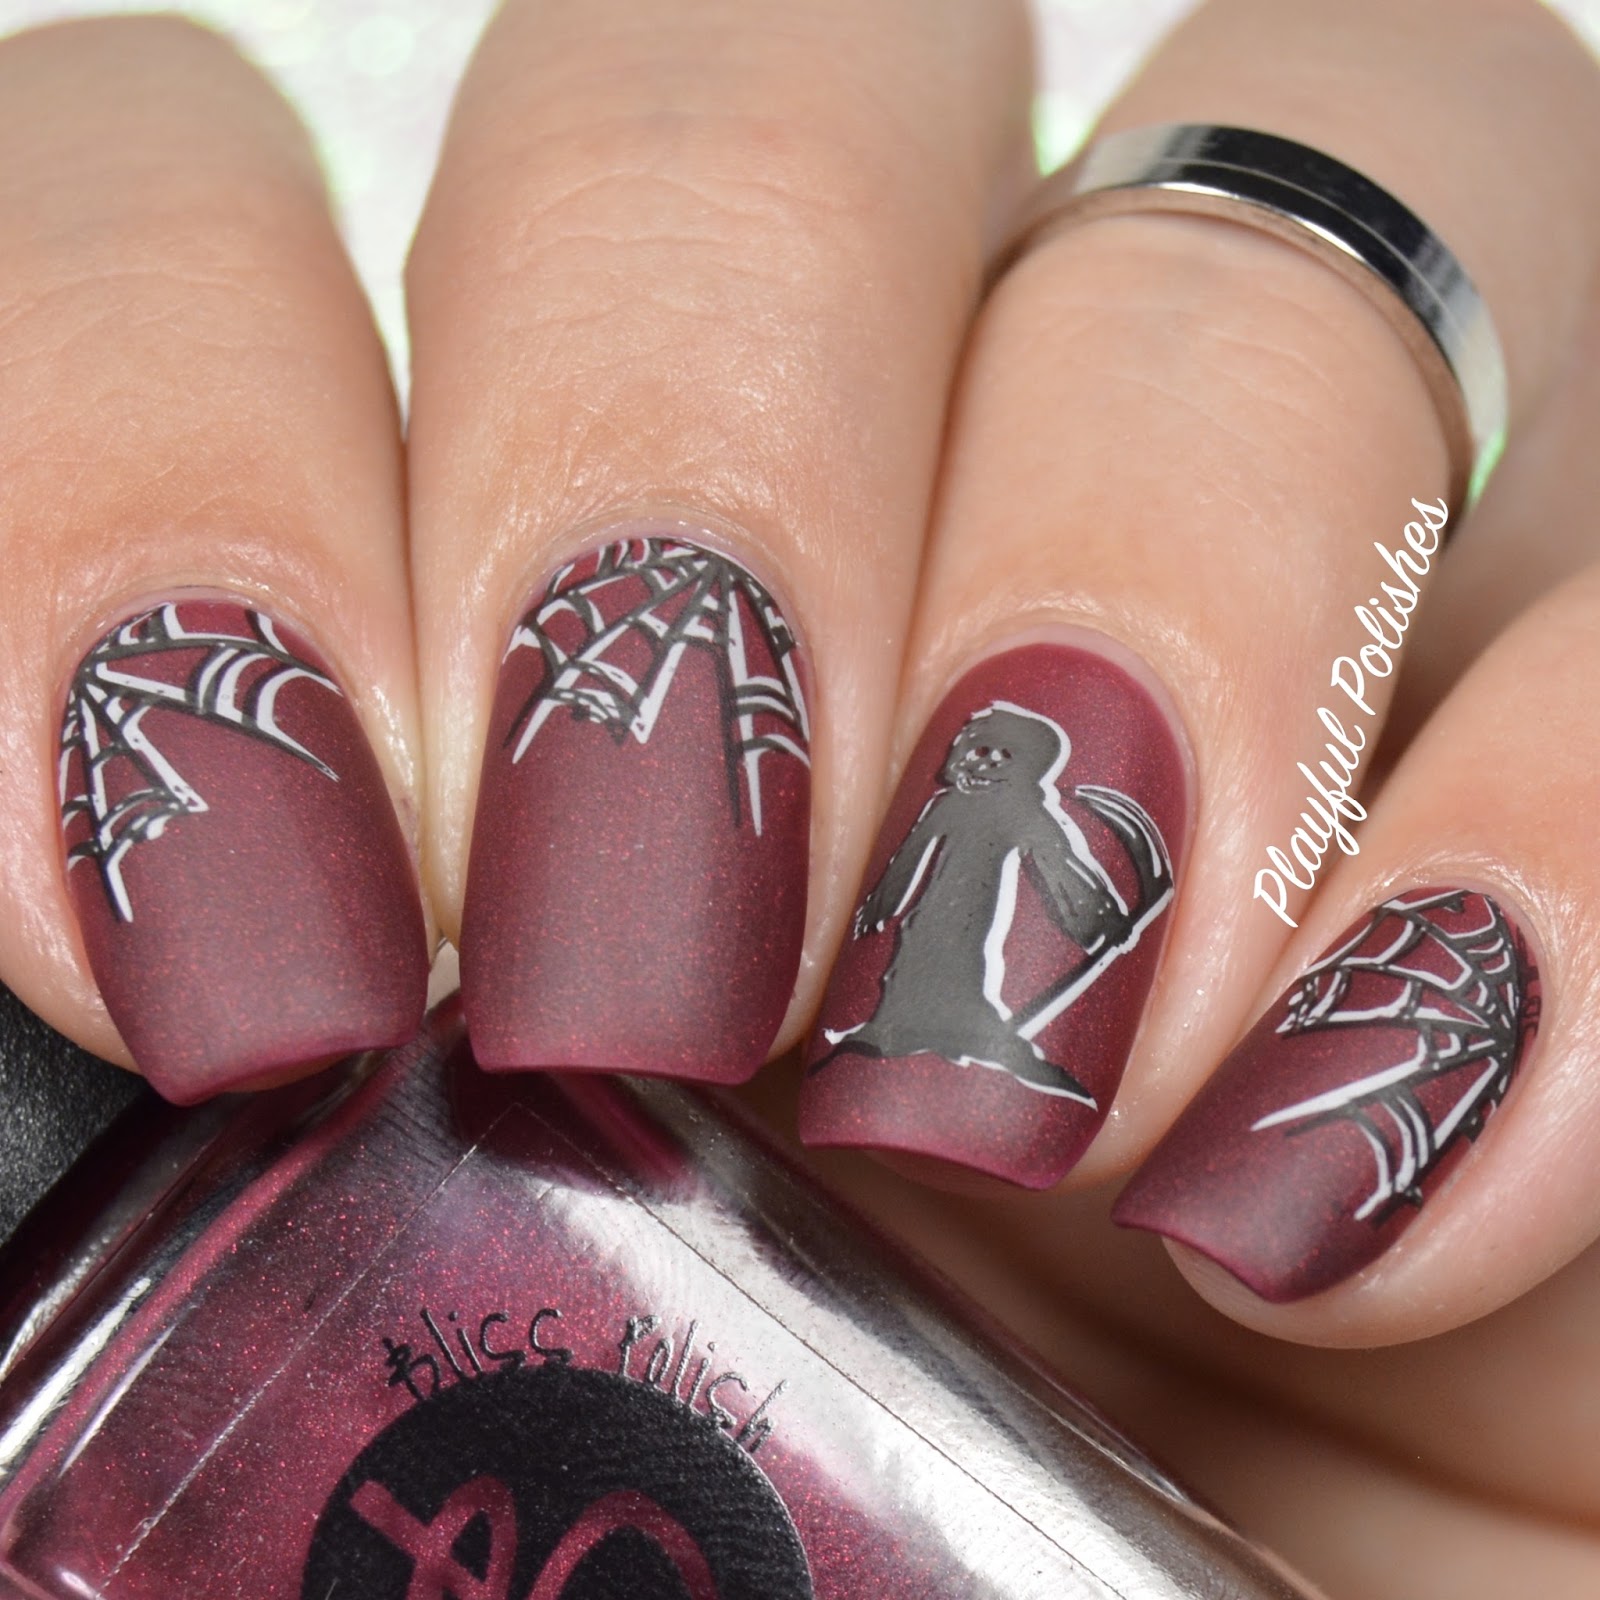
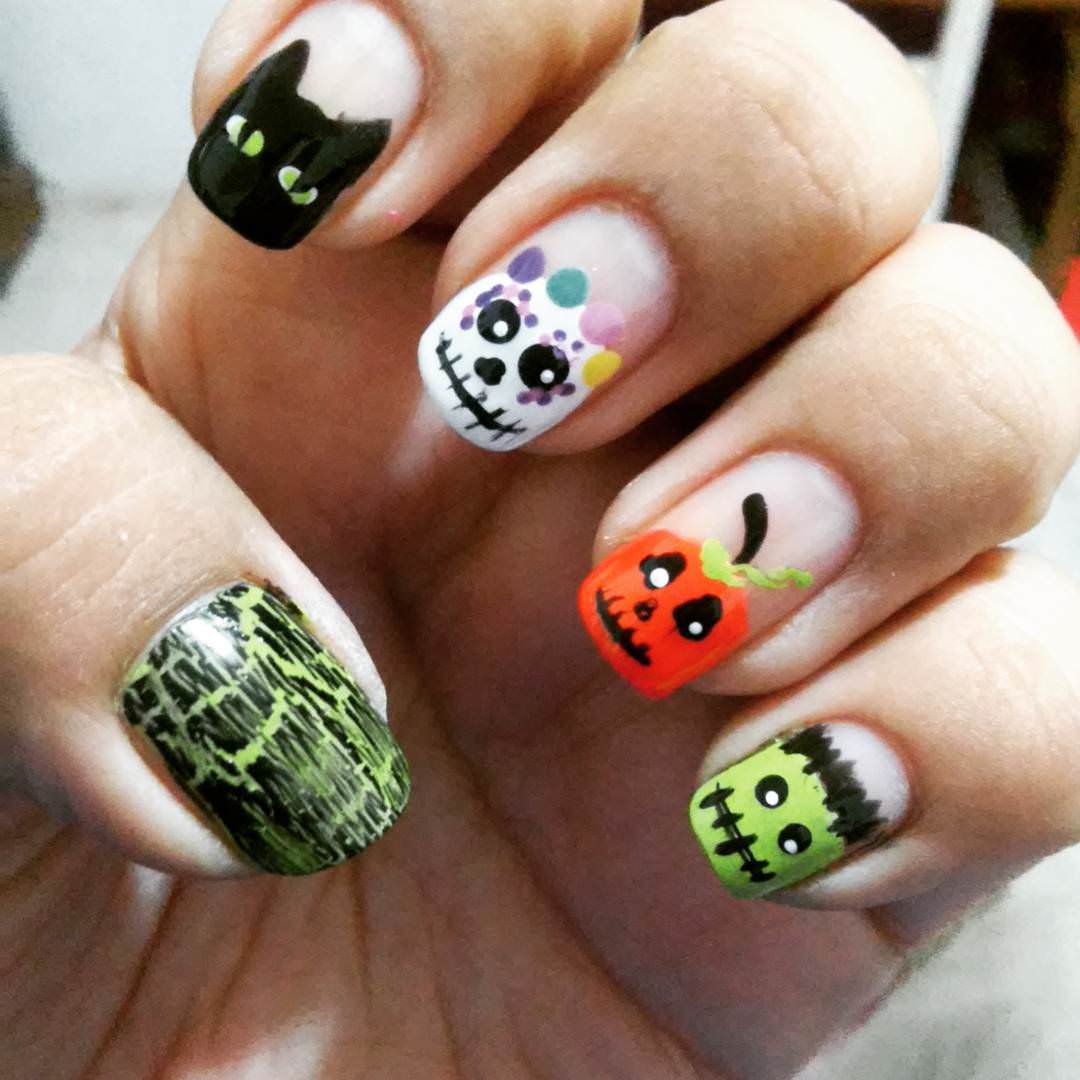
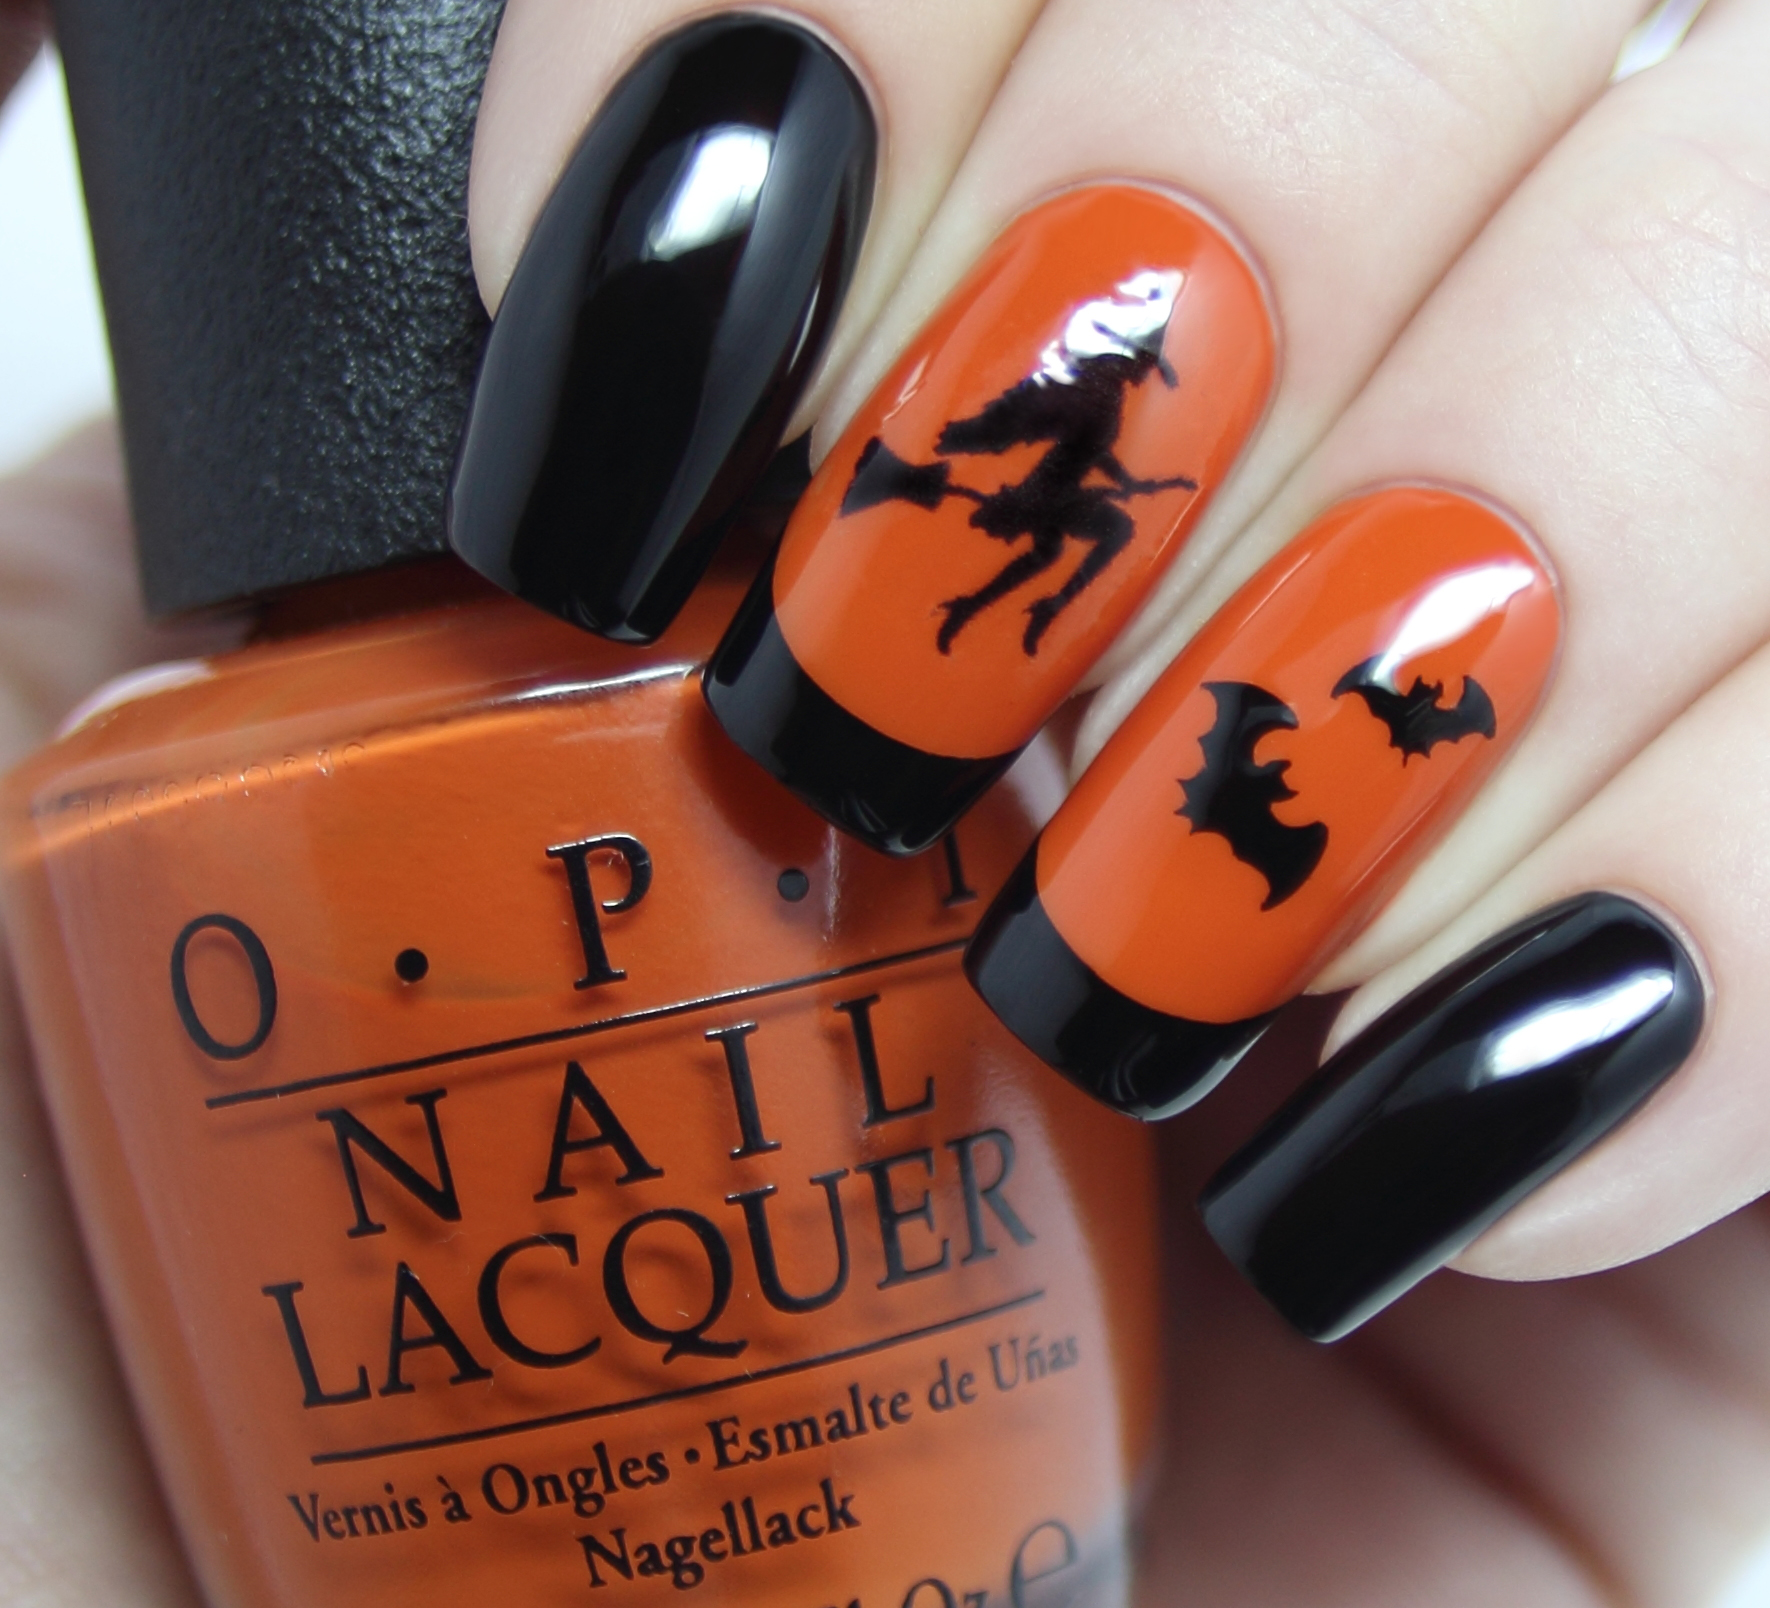
The first step to creating Halloween nails with stickers is to choose the right ones. You'll find a wide range of options available, including bats, ghosts, pumpkins, spiders, and more. Consider the design you want to achieve and select stickers that complement your vision.
Make sure to check the quality of the stickers before purchasing. Look for stickers that are durable and easy to apply. High-quality stickers will adhere well to your nails and last longer, ensuring your Halloween nail art stays intact throughout the holiday season.
Preparing Your Nails
Before applying the stickers, it's crucial to prepare your nails properly. Start by trimming and shaping them to your desired length and shape. Remove any old nail polish and clean your nails thoroughly. This will create a smooth canvas for the sticker application and help them adhere better.
If you want your Halloween nail art to last longer, consider applying a base coat before sticking on the designs. The base coat will provide an extra layer of protection and prevent the stickers from peeling off too quickly.
Applying the Stickers
Now comes the fun part ??? applying the stickers! Start by selecting the design you want to use for each nail. Carefully peel off the sticker from its backing and place it onto your nail. Press down gently to ensure it sticks properly.
Repeat this process for all your nails, experimenting with different sticker designs and placements. You can mix and match various stickers to create a unique and eye-catching Halloween nail art.
Sealing the Stickers

To make your Halloween nail art last even longer, it's essential to seal the stickers with a top coat. Apply a clear top coat over your entire nail, including the stickers. This will provide an extra layer of protection and prevent the stickers from peeling off or getting damaged.
Allow the top coat to dry completely before touching anything to avoid smudging or ruining your design. Once dry, your Halloween nails will be ready to show off!
Removing the Stickers

When Halloween is over, it's time to remove the stickers and give your nails a break. Start by soaking a cotton pad in nail polish remover and place it over each nail. Wrap your finger with aluminum foil to hold the cotton pad in place.
Leave the cotton pads on for a few minutes to allow the nail polish remover to dissolve the stickers. Gently rub the stickers off your nails using the soaked cotton pads. If there is any residue left, use a nail buffer or a gentle nail file to remove it.
Conclusion
Halloween nails using stickers are an easy and fun way to get into the spooky spirit. By following the steps mentioned above, you can achieve fantastic Halloween nail art without any professional skills. Explore different sticker designs, get creative, and let your nails become the highlight of your Halloween costume!
