
Creating Spooky Nails
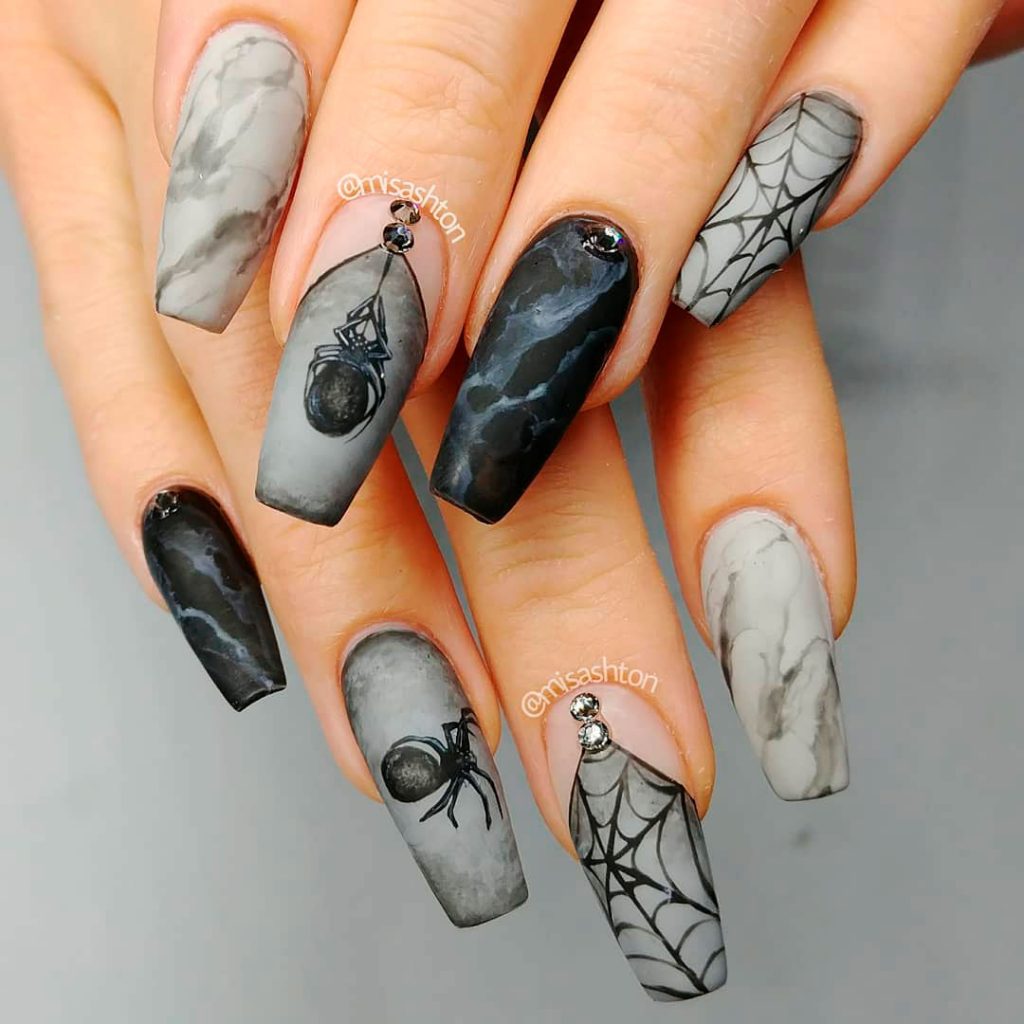
With Halloween just around the corner, it's time to start thinking about your spooky nail designs! One popular and eerie option is the spider web design. This intricate and eye-catching nail art will surely make your Halloween costume complete.

Materials Needed
Before you start creating your spooky spider web nails, gather the following materials:
- Black nail polish
- White nail polish
- Thin nail art brush or toothpick
- Clear topcoat

Step-by-Step Guide
Follow these steps to achieve the perfect spider web nails:

Step 1: Prepare Your Nails
Start by removing any old nail polish and shaping your nails. Apply a base coat to protect your natural nails from staining.

Step 2: Apply the Base Color
Apply two coats of black nail polish as the base color. Allow each coat to dry completely before applying the next.

Step 3: Create the Spider Web
Using a thin nail art brush or a toothpick dipped in white nail polish, draw a small dot near the cuticle area. This will be the center of your spider web.
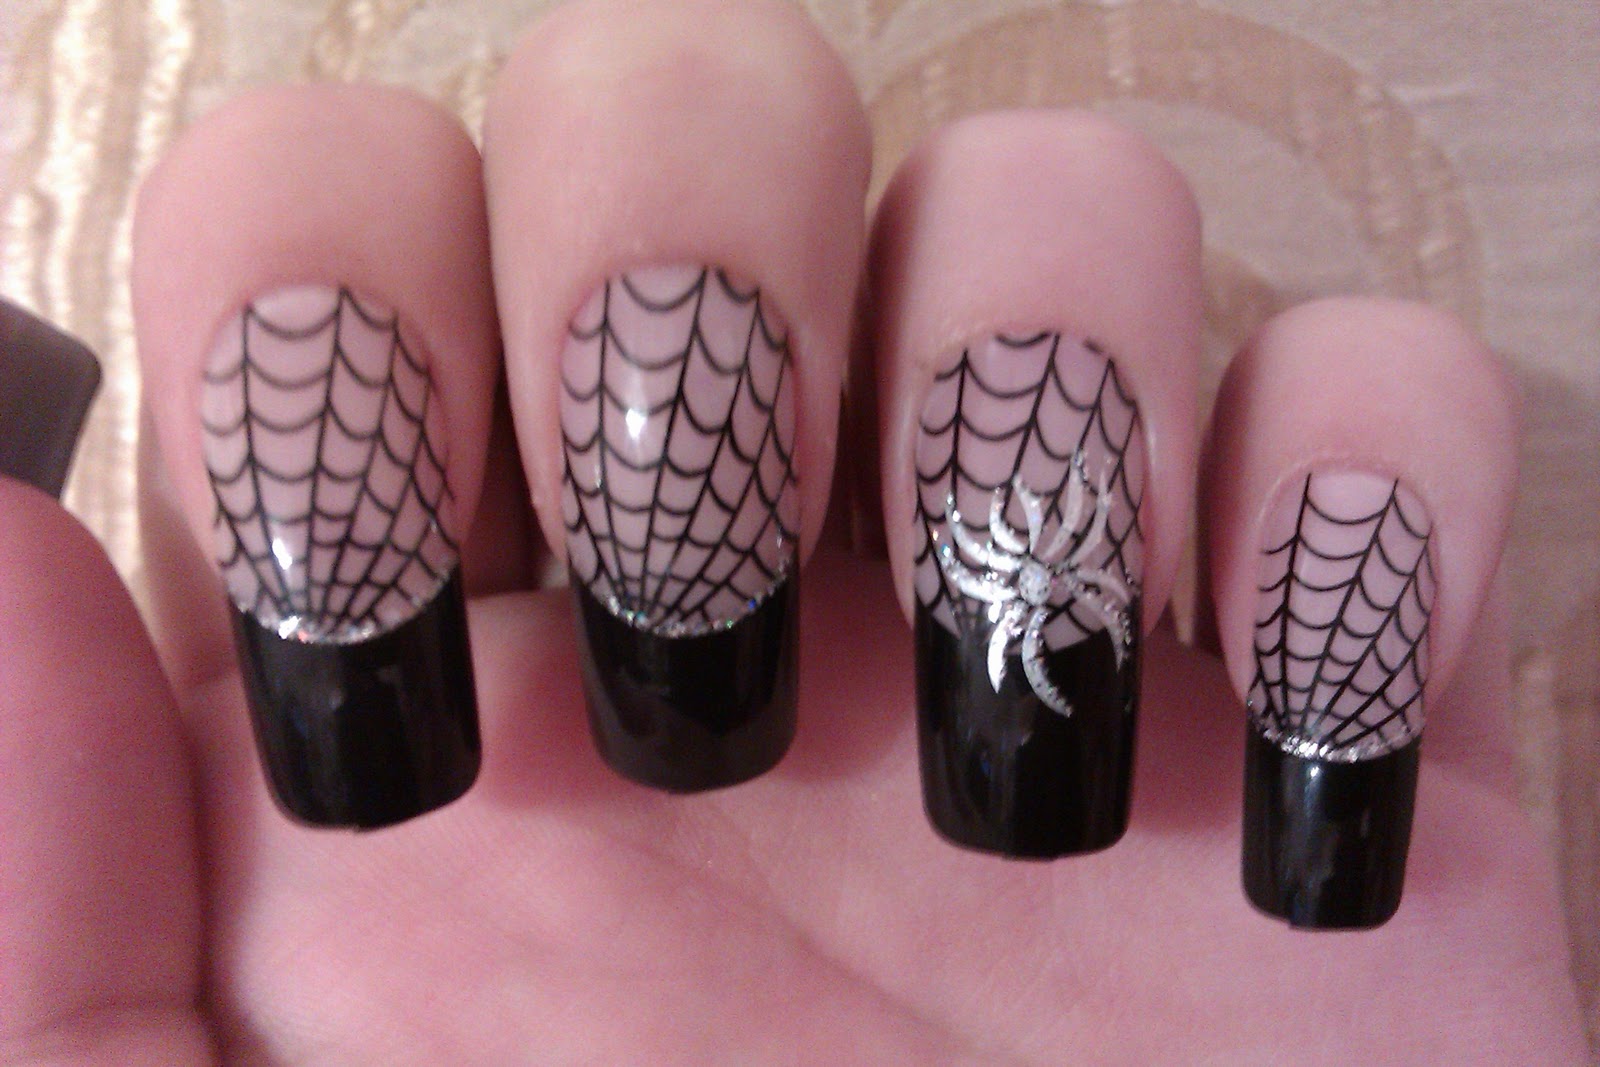
Step 4: Draw the Lines
From the center dot, draw several straight lines outward to create the spokes of the spider web. Make sure to leave enough space between each line for the web to look realistic.

Step 5: Add the Web
Connect the straight lines with smaller curved lines to create the web pattern. Keep adding curved lines until you achieve the desired spider web effect. You can make it as intricate or as simple as you like.
Step 6: Seal and Protect
Once the spider web design is dry, apply a clear topcoat to seal and protect your nail art. This will also give your nails a glossy finish.

Tips and Tricks
Here are some additional tips and tricks to help you achieve the best spooky nails:
- Practice on a nail art palette or a plastic surface before applying the design to your nails.
- If you don't have a thin nail art brush, a toothpick can work just as well for drawing the lines and curves.
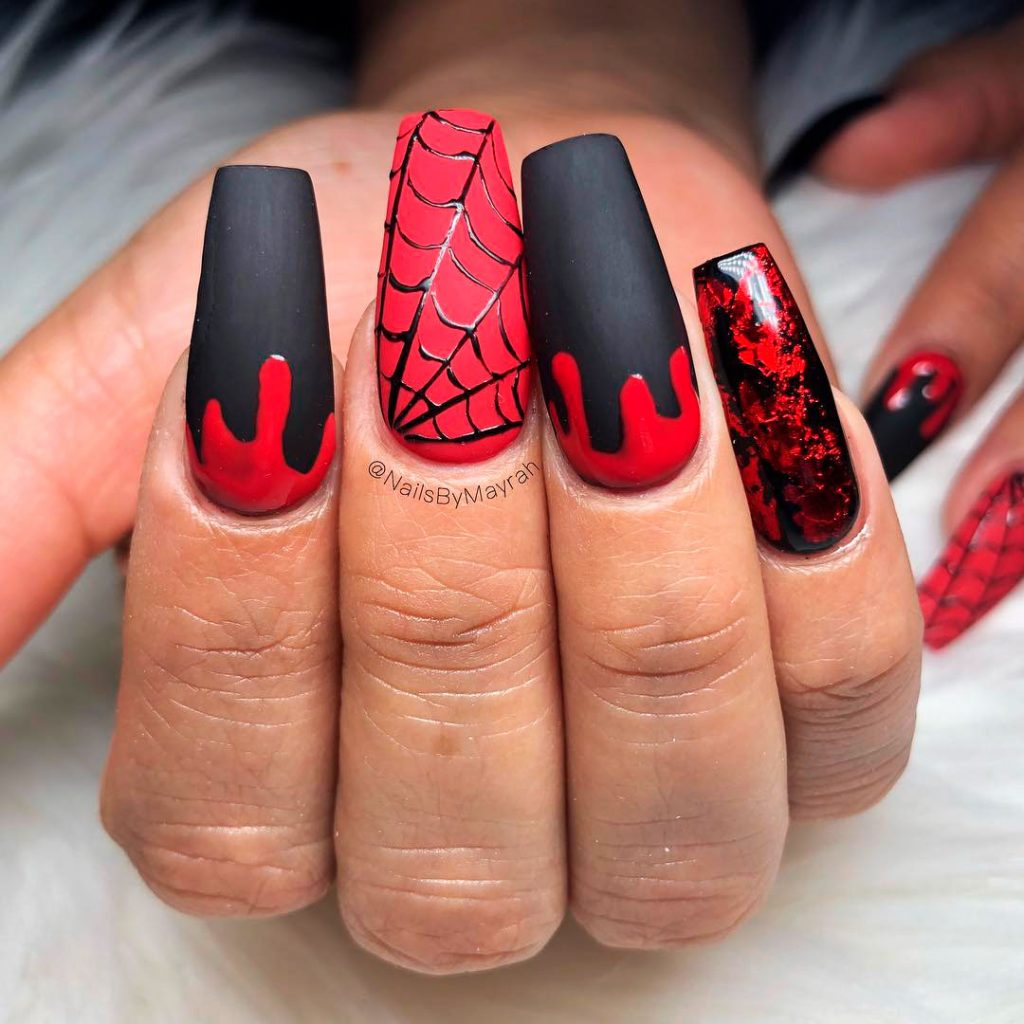
- Experiment with different colors for a unique spider web design. You can try using dark purple or deep red as the base color.
- For a more dimensional look, you can add small rhinestones or studs on the intersecting points of the spider web.
Conclusion
Spooky nails with spider web designs are a fantastic way to embrace the Halloween spirit. With a little practice and the right materials, you can create an impressive nail art that will surely impress your friends and family. Remember to have fun and let your creativity shine through!
